Leading Film Faced Plywood Manufacturing

Leading Film Faced Plywood Manufacturing
If you’re in the construction industry, you’ve likely heard of LVL form boards. LVL stands for laminated veneer lumber, and these boards are a popular choice for concrete formwork. They’re made by bonding together thin layers of wood veneer with adhesives, creating a strong and durable material that can withstand the pressure of poured concrete.
One of the main advantages of LVL form boards is their strength. They’re able to support heavy loads and resist bending, making them ideal for use in concrete formwork. They also have a smooth surface that creates a clean finish on the concrete, resulting in a professional-looking end product. LVL form boards come in a range of sizes, so you can choose the right dimensions for your specific project needs.
Another benefit of LVL form boards is their sustainability. They’re made from renewable resources and are often produced using sustainable forestry practices. This makes them an environmentally friendly option compared to other building materials. Additionally, LVL form boards can be reused multiple times, reducing waste and saving money on materials in the long run.

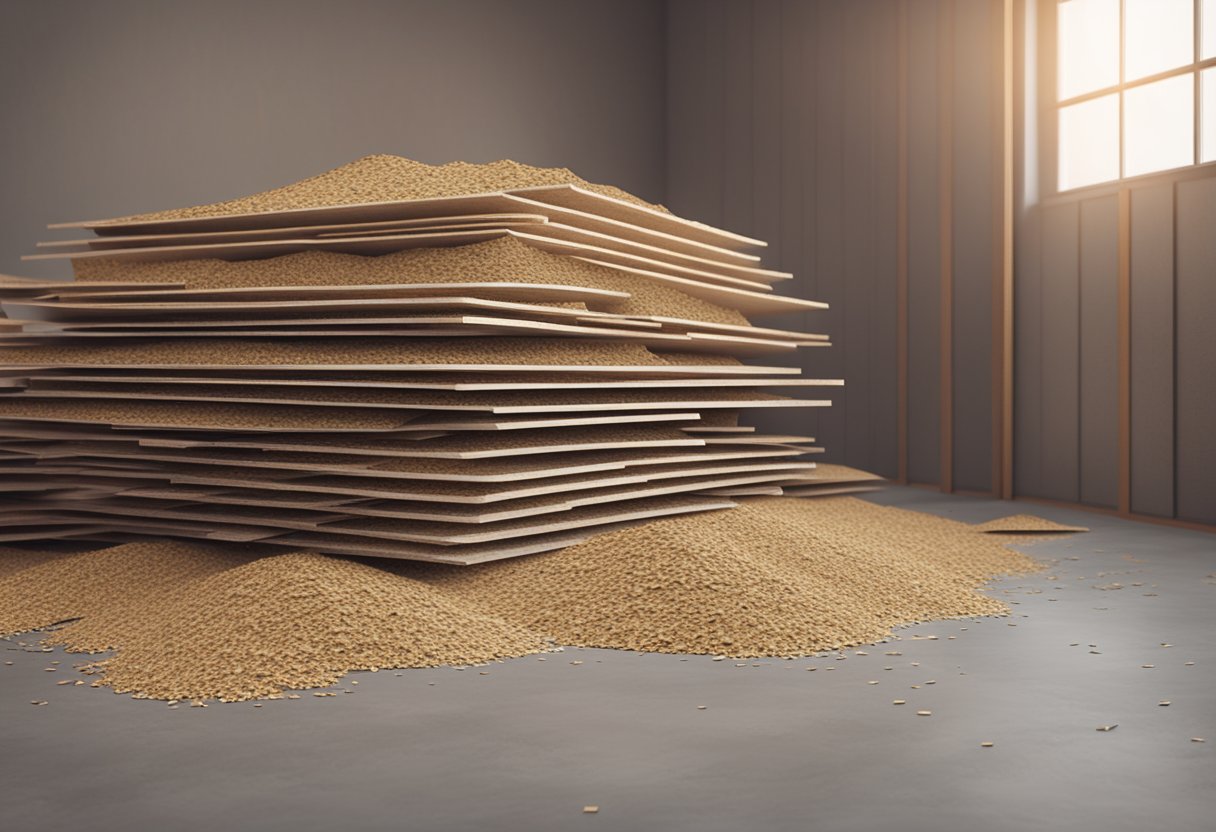
LVL (Laminated Veneer Lumber) Form Boards are engineered wood products made from thin layers of wood veneers that are glued together with adhesives. They are used in concrete formwork as a structural support for freshly poured concrete. LVL Form Boards are known for their strength, durability, and versatility. They are also resistant to warping, cupping, and shrinkage, making them ideal for use in construction.
To work with LVL Form Boards, you will need some basic tools such as a circular saw, drill, and hammer. You may also need additional tools such as a pry bar, level, and measuring tape. It is important to make sure that your tools are in good condition and that you are using the appropriate safety equipment such as gloves and eye protection.
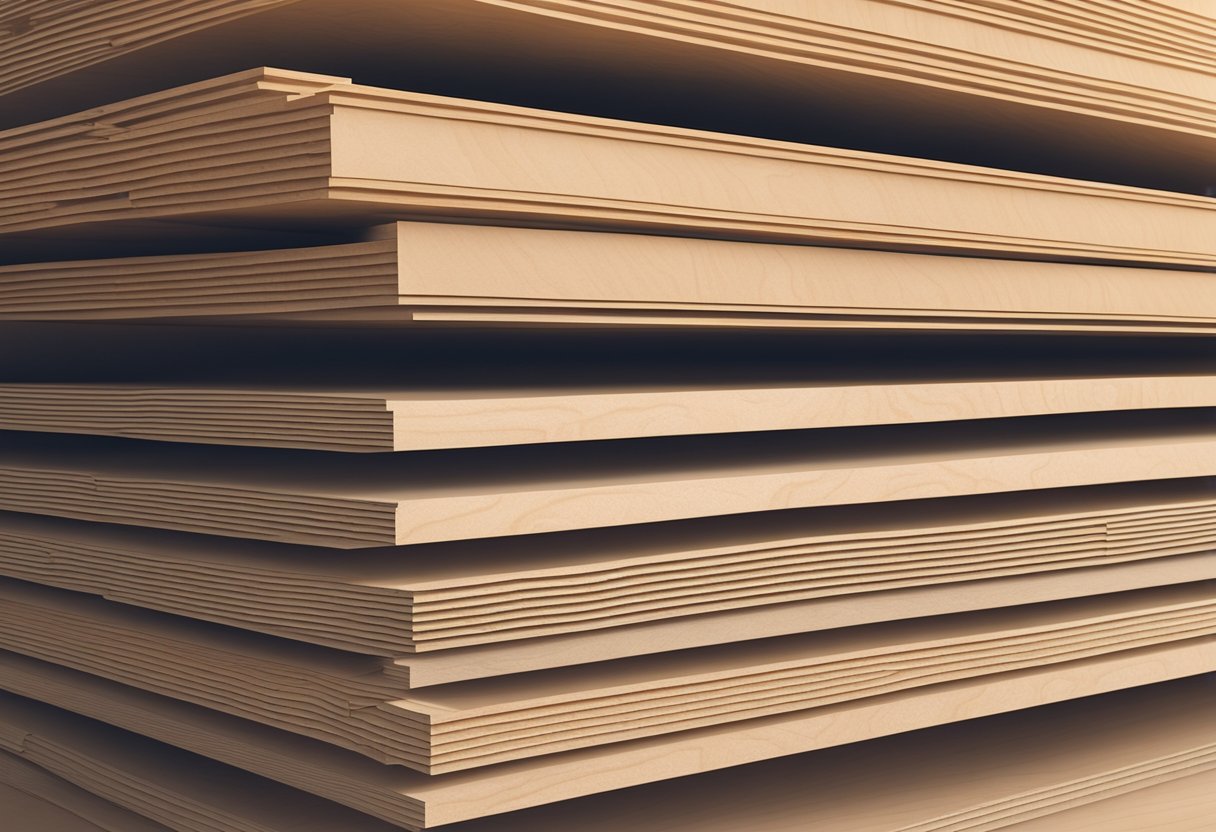
LVL Form Boards come in a variety of sizes to suit different construction needs. The most common dimensions are 1-1/8 inches thick and 2-1/2 inches wide, with lengths ranging from 8 feet to 24 feet. However, other sizes are available depending on the manufacturer and the supplier.
The thickness of the board is an important factor to consider when selecting LVL Form Boards. Thicker boards are stronger and more durable, but they can also be heavier and more difficult to handle. Thinner boards are lighter and easier to handle, but they may not be as strong or durable.
In addition to thickness, the width and length of the board can also affect its strength and durability. Longer and wider boards are generally stronger than shorter and narrower boards. However, longer and wider boards can also be more difficult to handle and transport. It is important to consider all of these factors when selecting LVL Form Boards for your construction project.

When it comes to setting up the forms for your concrete project, there are two key steps you need to follow: site preparation and board installation.
Before you can begin installing your forms, you need to prepare the site properly. This involves clearing the area of any debris or obstructions, and ensuring that the ground is level and compacted. Any soft or loose soil should be removed, and the site should be graded to ensure proper drainage.
Once the site is prepared, you can begin installing your board forms. LVL (laminated veneer lumber) form boards are a popular choice due to their strength and durability. To install your boards, follow these steps:
By following these steps, you can ensure that your forms are properly installed and ready for the next stage of your concrete project.
When it comes to leveling your form boards, there are two main techniques you can use: using a transit level and laser leveling. Both methods have their own advantages and disadvantages, so it’s important to choose the one that’s right for your project.
A transit level is a traditional leveling tool that uses a telescope and graduated rod to measure elevations. This method is accurate and reliable, but it requires more time and effort to set up. Here are the steps to use a transit level:
Using a transit level is a good choice if you need to measure elevations over long distances or if you need to measure elevations with a high degree of accuracy.
Laser leveling is a modern leveling technique that uses a laser beam to measure elevations. This method is faster and easier to set up than using a transit level, but it may not be as accurate in certain situations. Here are the steps to use a laser level:
Laser leveling is a good choice if you need to level a large area quickly or if you need to level an area with a lot of obstructions, such as trees or buildings. However, it may not be as accurate as using a transit level in certain situations, such as when measuring elevations over long distances.
Overall, both methods have their own advantages and disadvantages, so it’s important to choose the one that’s right for your project.
When pouring concrete, it’s important to have the right tools and materials. LVL form boards are a popular choice for concrete formwork due to their strength and durability. Here are some tips for pouring concrete using LVL form boards.
Before pouring concrete, you need to mix it properly. Follow the instructions on the bag of concrete mix and make sure to add the right amount of water. Over-mixing or under-mixing can result in weak or brittle concrete.
When pouring the concrete, use a wheelbarrow or concrete mixer to transport the concrete to the formwork. Pour the concrete slowly and evenly to avoid air pockets and ensure a smooth finish. Use a trowel to level the concrete and remove any excess.
After pouring the concrete, it’s important to let it cure properly. The curing process can take several days, depending on the weather conditions. During this time, the concrete needs to be kept moist to prevent it from drying out too quickly.
Cover the concrete with a plastic sheet or damp burlap to keep it moist. You can also use a curing compound to help the concrete cure evenly. Avoid walking on the concrete or placing heavy objects on it until it has fully cured.
By following these tips, you can ensure a successful concrete pour using LVL form boards.
When working with LVL form boards, safety should be a top priority. Here are some essential safety considerations to keep in mind:
Before you begin working with LVL form boards, make sure you have the proper protective gear. This includes gloves, safety glasses, and a dust mask. Gloves will protect your hands from splinters and cuts, while safety glasses will prevent debris from entering your eyes. A dust mask will protect your lungs from the sawdust that is produced when cutting LVL form boards.
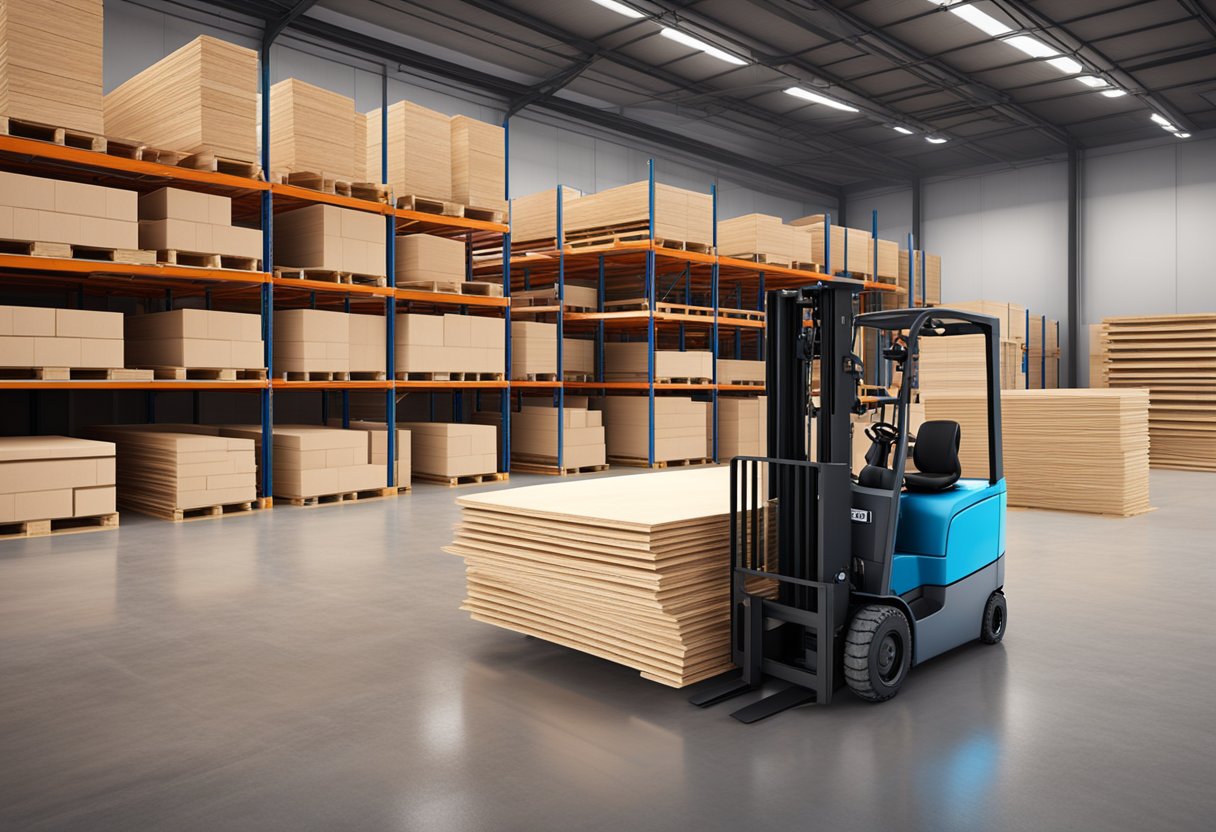
LVL form boards are heavy and can be difficult to maneuver. When handling them, be sure to lift with your legs and not your back. Use a dolly or cart to move them around, especially if you need to transport them long distances.
When cutting or drilling LVL form boards, use a sharp blade or bit. Dull blades or bits can cause the board to splinter or kick back, which can be dangerous. Before making any cuts or holes, make sure the board is securely clamped down to prevent it from moving.
If you are using power tools to work with LVL form boards, be sure to follow proper electrical safety guidelines. Make sure your tools are properly grounded and never use them in wet conditions. If you need to use an extension cord, make sure it is rated for outdoor use and is the proper gauge for the tool you are using.
By following these safety considerations, you can ensure that you and your team stay safe while working with LVL form boards.

Stay informed, stay inspired with our new blogs.
If you are interested in any of our products or would like to discuss a customized order, Please feel free to contact us.