Leading Film Faced Plywood Manufacturing

Leading Film Faced Plywood Manufacturing
If you’re in the process of renovating your home or office, you may be wondering what type of flooring you should install. One option that is worth considering is 22mm chipboard. Chipboard is a type of engineered wood that is made from wood chips, sawdust, and resin. It’s a popular choice for flooring because it’s affordable, easy to install, and durable.
One of the main benefits of 22mm chipboard is that it’s moisture-resistant. This makes it a great choice for areas that are prone to moisture, such as bathrooms, kitchens, and laundry rooms. The tongue and groove design of the boards also helps to prevent moisture from seeping in between the boards. This can help to prevent mold and mildew growth, which can be a problem with other types of flooring.
Another advantage of 22mm chipboard is that it provides a sturdy base for subsequent floor laying operations. You can lay tiles, carpets, or other decorative floors over the top of the chipboard. This versatility makes it a popular choice for both residential and commercial properties. Overall, 22mm chipboard is a great choice if you’re looking for a durable, moisture-resistant, and versatile flooring option.

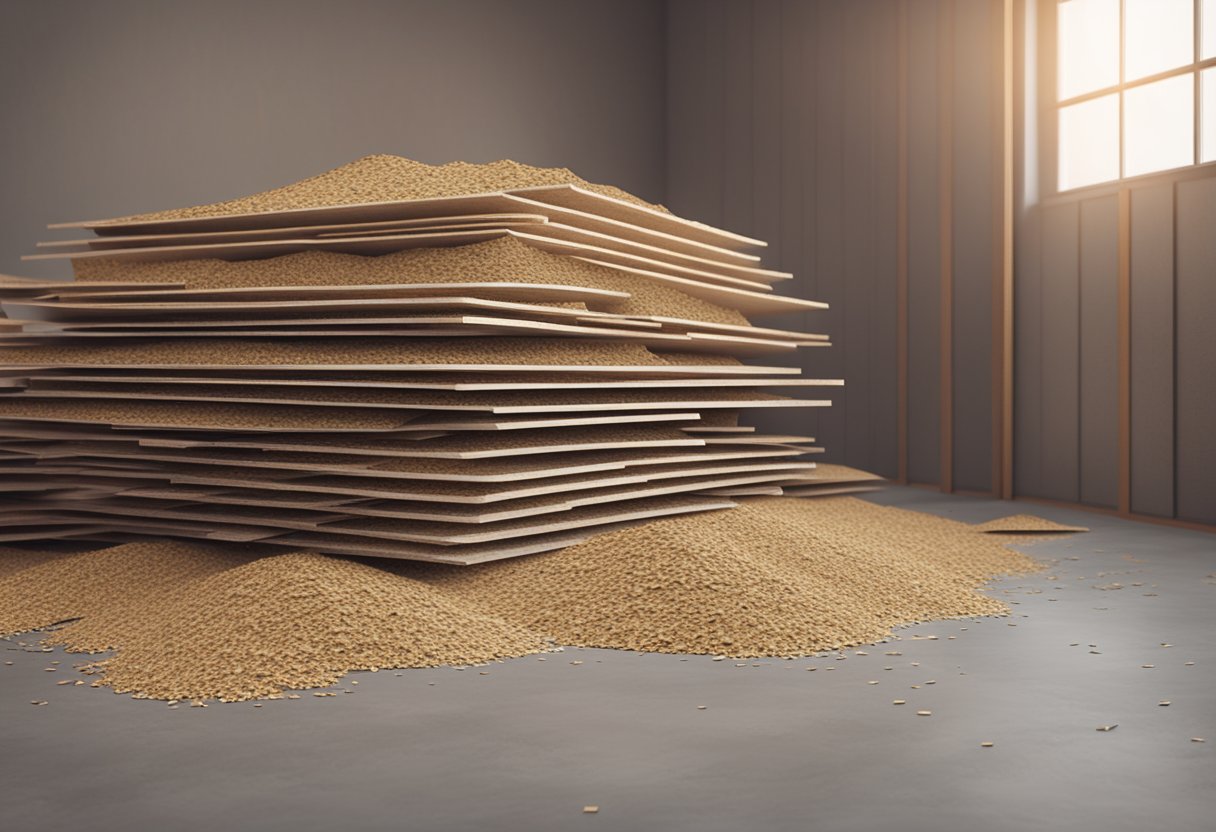
22mm chipboard is a composite wood panel made from wood chips, resin, and wax. The wood chips are compressed and bonded together using a synthetic resin, while the wax is added to improve the water-resistance of the board. The result is a strong, durable, and moisture-resistant panel that is ideal for use in flooring, roofing, and other construction applications.
22mm chipboard is commonly available in standard dimensions of 2400mm x 600mm (8′ x 2′) and is typically sold in sheets. The tongue and groove (T&G) design of the board allows for easy installation and a secure fit, making it a popular choice for flooring applications.
When selecting 22mm chipboard for your project, it is important to consider the intended use and the load-bearing capacity required. P5 grade chipboard is recommended for flooring applications and is designed to withstand heavy loads and resist moisture. It is also important to ensure that the chipboard is installed correctly and in accordance with industry standards to ensure its longevity and performance.
Overall, 22mm chipboard is a versatile and cost-effective building material that offers strength, durability, and moisture resistance. Whether you are building a new floor, roof, or other construction project, 22mm chipboard is a reliable and practical choice that is sure to meet your needs.

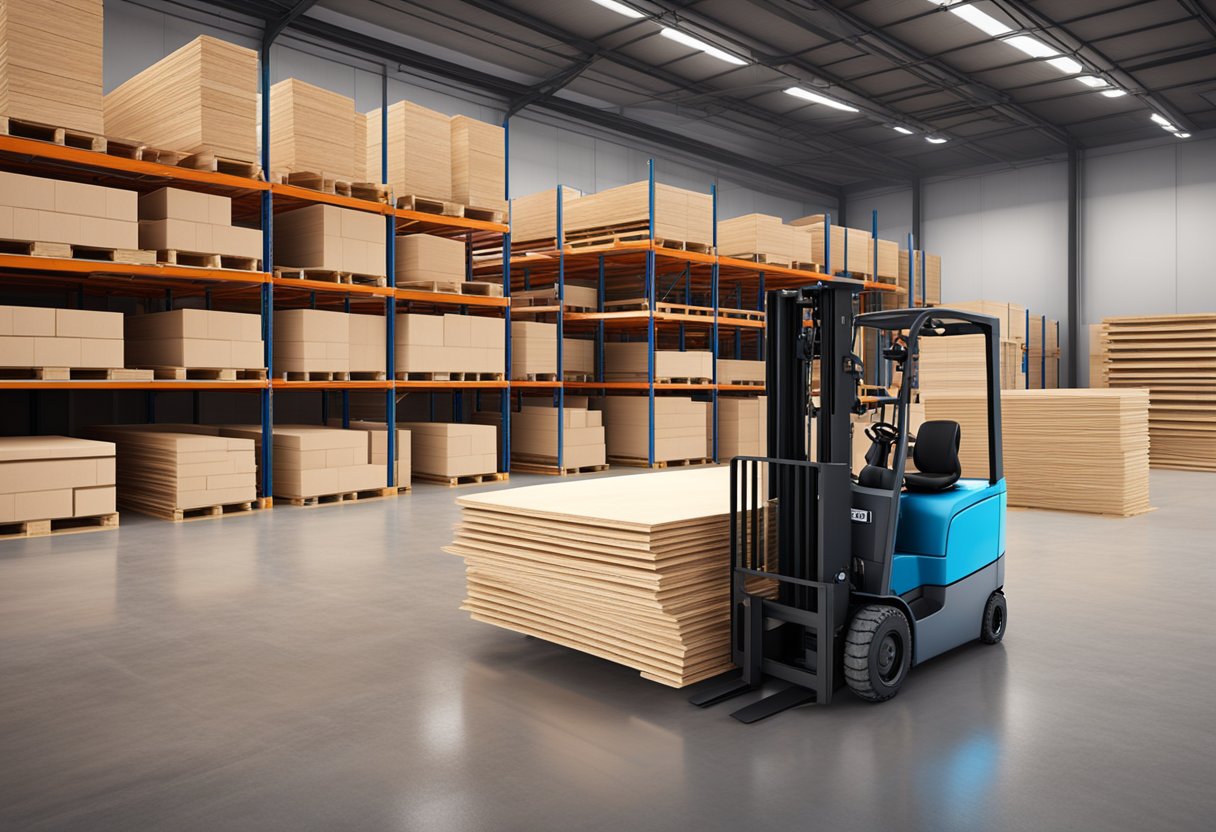
The manufacturing of 22mm chipboard starts with the sourcing of raw materials. The primary raw material used in the production of chipboard is wood chips. These wood chips are made from various types of wood, including softwood and hardwood. The quality of the raw material has a significant impact on the final product’s quality. Thus, the manufacturers carefully select the wood chips to ensure the best quality.
The production of 22mm chipboard involves several stages. The following are the main stages involved in the process:
Overall, the manufacturing process of 22mm chipboard involves several stages, starting from the sourcing of raw materials to the final product. The process requires careful attention to detail to ensure the best quality product.
22mm chipboard is a versatile material that can be used in a variety of construction applications. It is commonly used as a subflooring material due to its strength, durability, and moisture resistance. It is also used as a roofing material, particularly in low-slope roofs, as well as in wall sheathing and as a general purpose building material.
In addition, 22mm chipboard is often used in the construction of mezzanine floors, which are intermediate floors between the main floors of a building. It is also used in the construction of raised floors, which are floors that are elevated above the ground level.
22mm chipboard is also a popular material for furniture making. It is often used as a substrate for veneers and laminates, as well as for the construction of shelves, cabinets, and other furniture components. Its strength and durability make it a popular choice for furniture that will be subjected to heavy use.
In addition, 22mm chipboard can be used in the construction of upholstered furniture, such as sofas and chairs. It provides a sturdy base for the cushions and upholstery, and its moisture resistance helps prevent damage from spills and stains.
Overall, 22mm chipboard is a versatile and reliable material that can be used in a wide range of construction and furniture-making applications. Its strength, durability, and moisture resistance make it a popular choice for builders and furniture makers alike.
Before you start laying the 22mm chipboard, you need to ensure you have the necessary tools. Here are the tools you will need:
Make sure you have all the tools before you begin the installation process. This way, you won’t have to stop halfway through the process to get a missing tool.
Here are some best practices to follow when installing 22mm chipboard:
By following these best practices, you can ensure a smooth and level installation of your 22mm chipboard flooring.
When it comes to maintaining and caring for your 22mm chipboard flooring, there are a few things you can do to ensure its longevity and performance. Here are some tips to help you:
Regular cleaning is essential to preserve your chipboard’s condition. Sweep or vacuum the floor to remove any dirt, debris, or dust that may accumulate over time. You can also use a damp mop to clean the surface, but make sure not to use too much water as it can damage the chipboard.
If you spill anything on your chipboard flooring, clean it up immediately to prevent any damage. Use a dry cloth or paper towel to soak up the liquid, and then use a damp cloth to wipe the area clean. Avoid using harsh chemicals or abrasive cleaners as they can scratch or damage the chipboard’s surface.
Excessive moisture can cause your chipboard flooring to warp or swell, which can be costly to repair. To avoid this, make sure that you don’t use too much water when cleaning, and avoid placing potted plants or other items that can hold water directly on the floor. If you live in a humid climate, consider using a dehumidifier to keep the moisture levels in check.
To protect the surface of your chipboard flooring, consider using rugs or mats in high-traffic areas or where you may be more likely to spill something. You can also use furniture pads to prevent scratches or dents caused by moving furniture around.
By following these simple tips, you can ensure that your 22mm chipboard flooring stays in great condition for years to come.

Stay informed, stay inspired with our new blogs.
If you are interested in any of our products or would like to discuss a customized order, Please feel free to contact us.